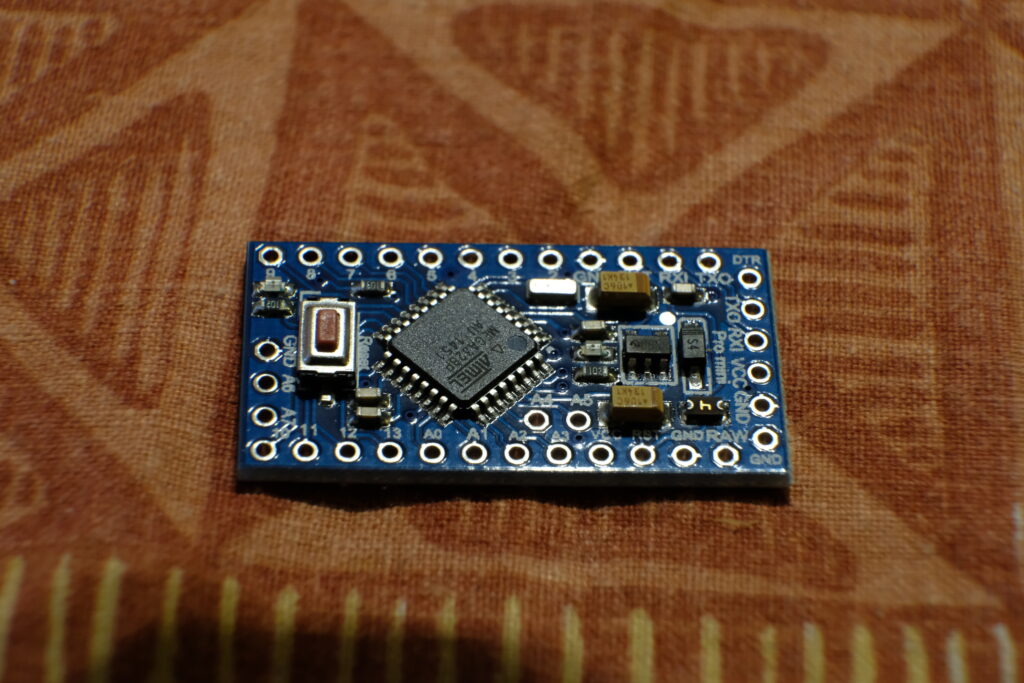
I’ll be using Arduino Mini Pro cheap clone, that you can find anywhere on E-Bay for $2. Mine looks like this, works on 3.3v and is 8MHz. Make sure to have the correct settings in the Arduino IDE in order to program it. I’m using cheap PL2303 to RS232, which requires specific drivers for Mac OS X ( maybe for Windows, too? ).

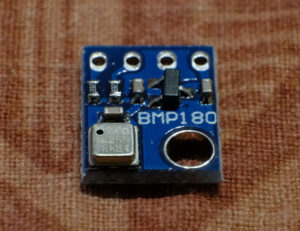
So, I will be connecting pressure and temperature sensor, named BMP180, to it. I will only read the temperature, as I don’t have usage for pressure at the moment. Mine looks like this:


I will be using the HC-12 module, pre-configured in my previous post.
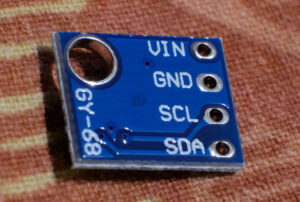
Connect the BMP180 to the Arduino. BMP180 uses I2C, so the connection is very easy:
- VIN – Connect to Arduino 3.3V
- GND – Connect to Arduino GND
- SCL – Connect to Arduino A5
- SDA – Connect to Arduino A4
Now you can try it out and see the output. You need to install Sparkfun BMP180 library in your Arduino IDE ( Easiest way is to use the Library Manager ).
This is the simplest sketch to display the temperature (both Celsius, Fahrenheit) in the serial output, from the BMP180 sensor.
You should see in the Serial monitor the following output:
temperature: 25.23 deg C, 77.42 deg F
temperature: 25.10 deg C, 77.19 deg F
Next, let’s connect the HC-12. We will be using Software Serial on the Arduino on pins 2 and 3. Connect the HC-12:
- VCC – to Arduino 3.3v
- GND – to Arduino GND
- TX – to Arduino pin 2 ( RX )
- RX – to Arduino pin 3 ( TX )
That’s it 🙂 Now you can use this simple sketch to send the data. I’ve used very simple format like this:
1|TEMP|CNTR|SENSORV|
But you can use any format you want, of course. 1 – Sensor ID, TEMP – Type of sensor. I recommend if you connect several sensors to one Arduino, to add one new line for each sensor. In this example, I connect only BMP180 temperature reading ( ignoring pressure value, I don’t need it ). CNTR – that’s incremental reading number, which I just added for counting how many packets has been sent. As I’m sending one packet every minute, this is basically the uptime in minutes :). SENSORV – Sensor value. In my case – temperature readings in Celsius.
Here’s the updated sketch file that sends temperature reading over HC-12 ( that I’ve configured on channel 7 ).
Note that this is very very simple way of doing it. As I don’t have tons of sensors and sender nodes, I don’t care that much about packets overriding themselves ( In theory, if two sensors send at the exact same time, the data will be corrupted ).
What can be improved here, is:
- Sending some calculated HASH, that can be checked? Even if two sensors send at the same time, this will not be read as garbage, but ignored.
- Authenticating nodes. Implement some very simple encryption on the sensor side, that later will be decrypted on the reader node. This will also prevent collisions, as the data won’t be properly readable. This will also make the communication secure and in case of sending commands, they won’t be executed, if someone tries to hi-jack and send commands directly.
I actually plan on implementing the encryption in a later post 🙂
In the next post, I will show you how to read the sensor data, then do whatever you want with it ( I will display it on the small OLED screen as an example ).
3 comments On Reading temperature with Arduino and sending it via HC-12
Hi, wasp. Thanks for uploading this. This helped me a lot
Anyway, is it possible to make HC-12 as transmitter and receiver (send and receive data) at the same time via software serial?
Thanks before!
Looking forward for your reply.
Well, it has serial emulation. So – yes, you can send data as well as receive data at the same time.
I have been trying to get data from a bme280 sensor to read correctly. Data is transmitted and received through HC12 transceivers. On the receiving end, Temperature ad Humidity is read just fine but the pressure data gets read ad ASCII. Example: Temp = 70, Humidity = 34, Pressure = 1024. On the transmit side, these numbers can be seen on the serial monitor, but on the receiver side the serial monitor displays the data as 70, 34, 48 49 50 52. ( the 48 49 50 52 are ascii equivalent of the correct 1024 decimal pressure number. I have tried everything from transmitting and receiving pressure data as a string, integer, characters, etc. For the life of me I can’t figure out why the pressure data is being received as ascii especially when it’s being transmitted as decimal