General info

You might not want to tinker around with docker installation, even though I find it more flexible. In this case, there’s another way, much more user-friendly, that does not involve a lot of shell commands. It’s called Hass.io.
I will not cover here the basic installation of the image, just make sure you pick the right one and install it, following these instructions.
After you install it, connect the RPi via ethernet and access it through homeassistant.local:8123 in your browser. If this does not work, you should find it’s IP address and open that on port 8123.
You might need to wait as long as 20 minutes so that it updates fully.
If you prefer Wi-Fi connection or you cannot use wired connection, the installation page provides proper set-up instructions for Wi-Fi-based configuration.
If you want to configure Wi-fi later, you can install via wired Ethernet and follow this guide.
When your Home assistant opens for the first time, go further and configure it fully.
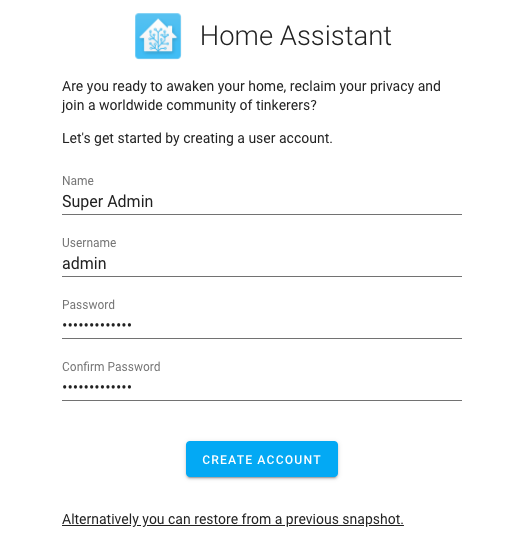
You will then be presented with the default home asssistant screen ( which in my opinion is pretty ugly ). What I suggest is you start from scratch and configure your dashboard(s) manually. This way you will have full control over what’s displayed where and how.