Tuya-convert utility
I would usually do soldering and flashing via serial-to-usb connection, but lately I’ve got some devices that are either hard to open physically or too new and no information was found on the internet.
That’s why I tried (successfully) to use Tuya convert utility to flash my last several devices.
I will describe the steps here, along with some extra information about firmwares included.
First, the installation is pretty straightforward on Linux. I had no success running it on Mac OS X or Docker. That’s why I used my Ubuntu laptop and there it worked perfectly, so I simply use that when needed.
You might, however, succeed with Docker. Just follow their tutorial on installation.
What I did to install, was already on their site:
# git clone https://github.com/ct-Open-Source/tuya-convert
# cd tuya-convert
# ./install_prereq.sh
Then, in order to start it every time, you just execute ./start_flash.sh and follow the instructions on the screen.
The script might ask you to stop several services, which requires root access on linux.
Then it creates an access point, and tells you to connect with a device to it. I just use my phone to connect, while flashing.
The device should be flashing rapidly in order to be in “pairing” mode. That’s usually when you first start it or when you press the button and hold it for more than 10 seconds.
I’ve tried it with:
- Sonoff 4CH
- Blitzwolf SH6
- Blitzwolf SHP7
- Blitzwolf SHP8
- Blitzwolf SHP10
and it works always.
The script will ask you which firmware you want to install – Espurna or Tasmota.
Espurna or Tasmota?
My recommendation? If your device is fully supported by Espurna, go for it. If not – Tasmota is your best bet, as it’s really customizable.
For example, I could not successfully use Espurna for SHP7 and SHP10. I’ve flashed the basic espurna binary and upgraded via the interface to espurna-1.14.1-blitzwolf-bwshpx.bin as this would be the logical choice. However, this didn’t work. Flashing espurna-1.14.1-blitzwolf-bwshpx-v23.bin did not work, either.
If you’ve tried Espurna but want to go to Tasmota
Go to Admin -> Upgrade.
Download tasmota-lite.bin and upgrade with that. You most probably won’t be able to upgrade directly with tasmota.bin, as it’s too big. DO NOT USE tasmota-minimal.bin, as this will brick the device and you will need to open it ( happened to one of my SHP7s ).
Once you uploaded, the device restarts. Then you connect to the Access Point and configure Wi-Fi, then reconnect.
This is how it looks ( obviously, after configuration):
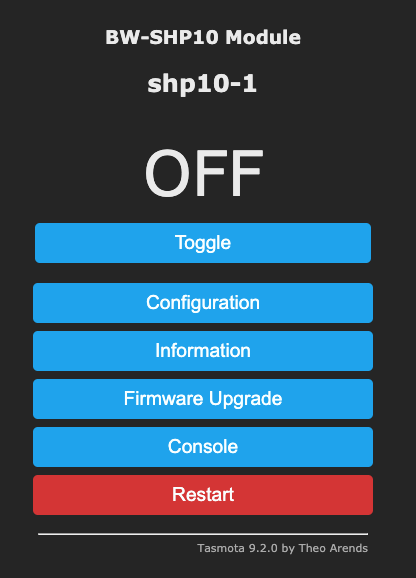
Go to “Firmware Upgrade” and follow the on-screen instructions and upgrade to full Tasmota, if you’re using the Lite version.
Then press “Configuration”.
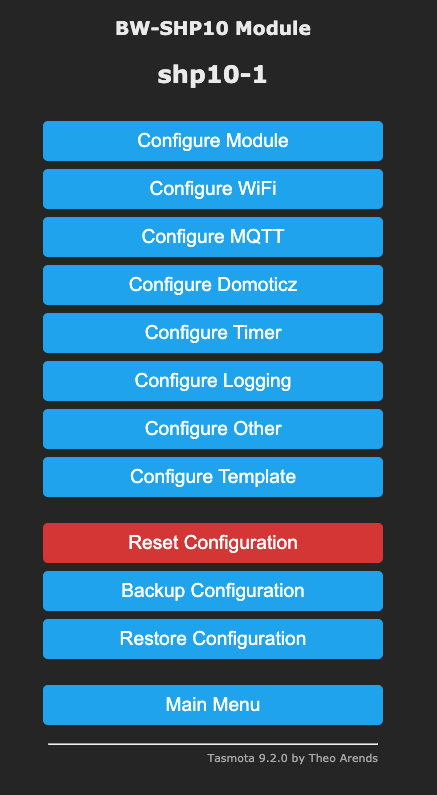
If you flashed Tasmota with unsupported device, you can use one of these templates (with search) to find the best that suits you ( I found both SHP7 and SHP10 templates here ).
If you have unsupported device and found a template, go to “Configure Other”:
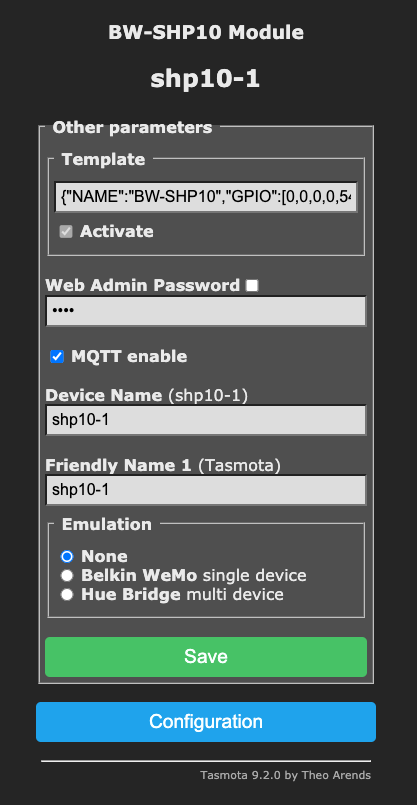
Paste your template in “Template” field and check “Activate”. Then click “Save” and restart the device.
Now you should be able to successfully operate it.
MQTT for Home Assistant
I suggest you configure MQTT so that you can manage the device from HASS.
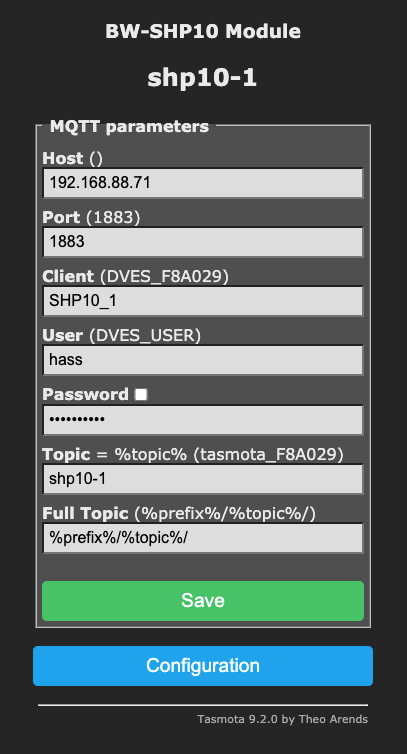
Then the device restarts after Save.
Now you should be able to see and configure the device from HASS – Configuration -> Integrations
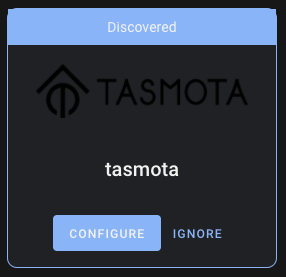
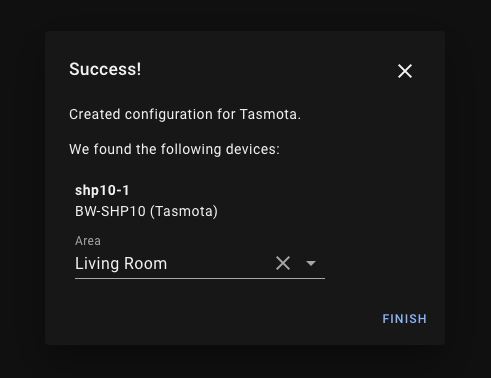
After that, the device is fully visible and manageable through Home Asistant.
2 comments On Flash Blitzwolf or any other tuya- based esp device without soldering
Hi, this series is one of the great complete tutorial available in the web. I have so far done installing home assistant core on docker. Then integrated few sonoff switches via mosquito. I,m not able to configure duckdns docker image for remote accessing my home assistant over internet. If you get time to work on this, that will be great. Many thanks
Hello,
I haven’t been able to experiment with duckdns, unfortunately. I’m using static IP and external DNS. If I do it, I promise to make a post about it.