Plugins
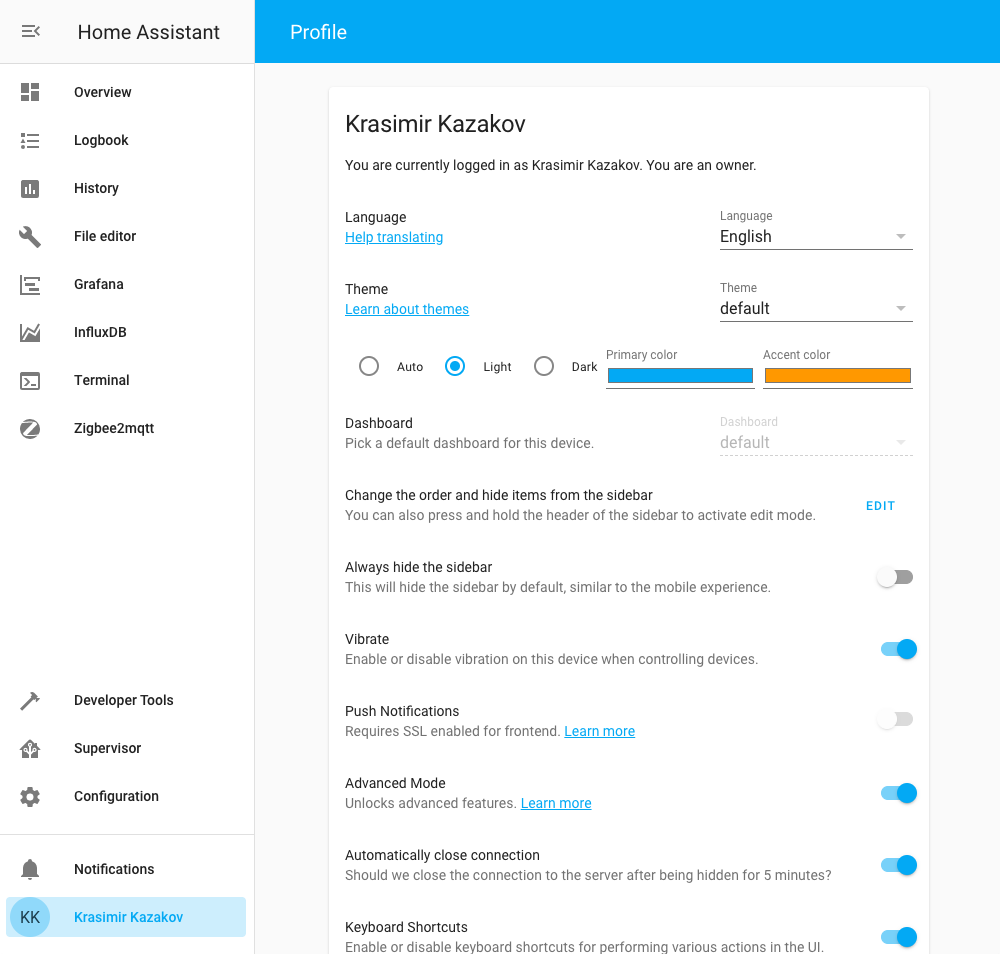
First, go to your Profile’s settings and turn on Advanced mode :
Next, select Supervisor from the menu on the left. Then go to Add-on Store.
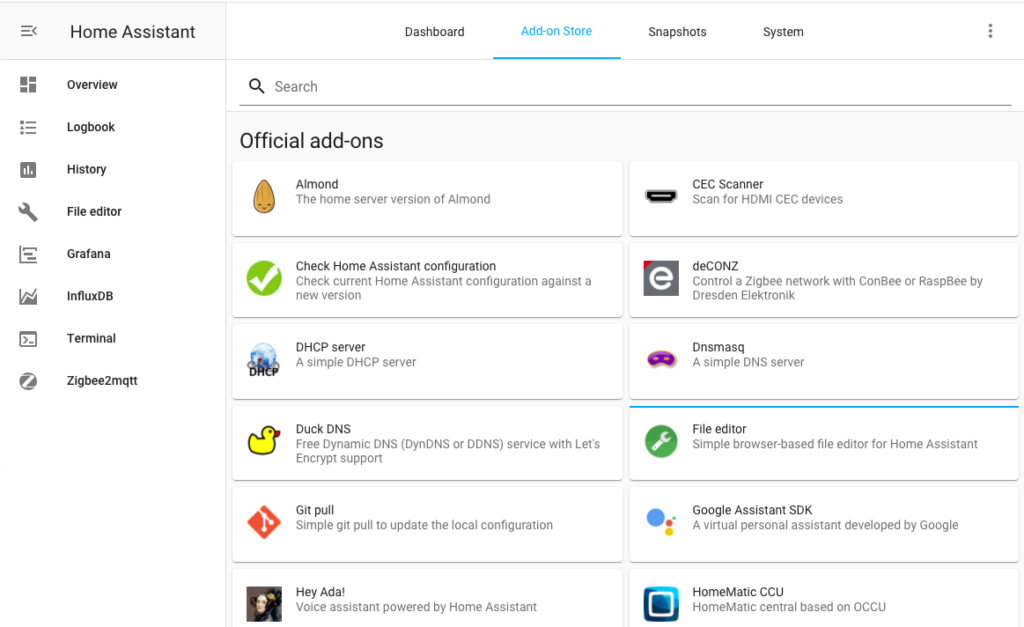
Search for mqtt and install the Mosquitto broker plugin. Now you can go in plugin’s Configuration tab and configure it.
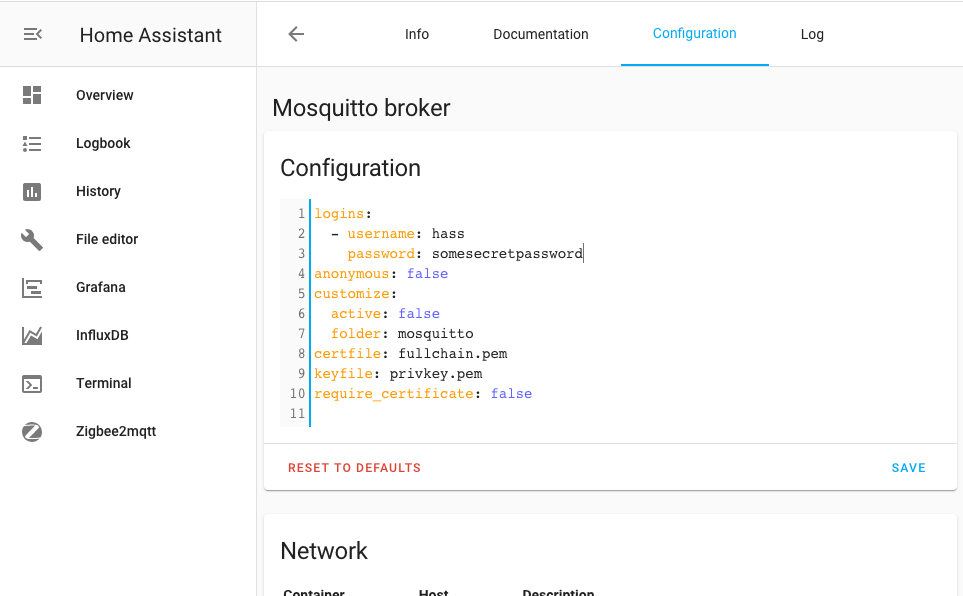
When you’re done, go back to Info tab and select Start. Make sure that Start on boot is also selected. If there are some errors, you can always go to Log and inspect it.
Now as we have a broker running, next plugin to install is the File editor. Go back to Supervisor -> Add-on Store. Search for File editor and install it. Start it from the Info tab. You can also select Show in sidebar for easier access.
So now you have the bare basics, to feel comfortable on the UI as a start.
Tip: If you would like SSH access, look into plugin called SSH & Web Terminal.
Themes and working with configuration files
Home Assistant recently added light and dark theming by default, which is nice, as I don’t like the light eye-burning theme. This can be configured from your profile icon at the bottom of the menu on the left.
However, for my personal taste I found out the default theme had confusing colors about switches, for example. Luckily, it’s easy to install themes.
My favourite one is Google Dark Theme, but you can install any via similar method.
Go to File editor in the menu on the left and select Browse filesystem button:

Select the button New folder:
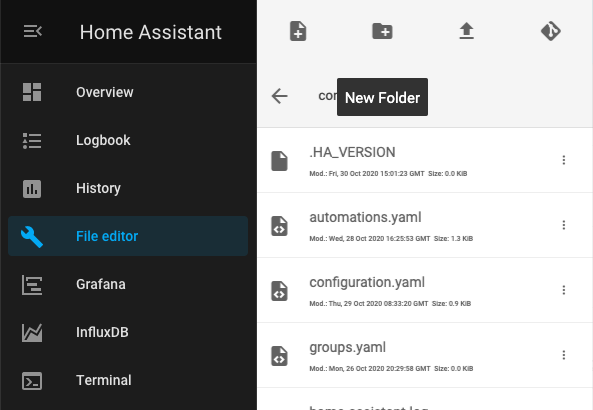
Name it themes and tap OK. Click on it in the folder structure to open it. Tap on the first button New file to create a new file. Name it google_dark_theme.yaml and click OK. Then you can paste the contents of the yaml file from the theme and save it via the diskette icon.
Another way is to directly upload it via the third button Upload File, if you have already downloaded it.
Click on the left arrow to go back to the home config folder and tap on configuration.yaml to open it.
Edit it and add somewhere ( at the bottom for example ) the following lines
frontend:
  themes: !include_dir_merge_named ./themes
Make sure you keep the indentation. Save with the red diskette button that appears on the right top.

Now go to Configuration from the left menu and then into Server controls.
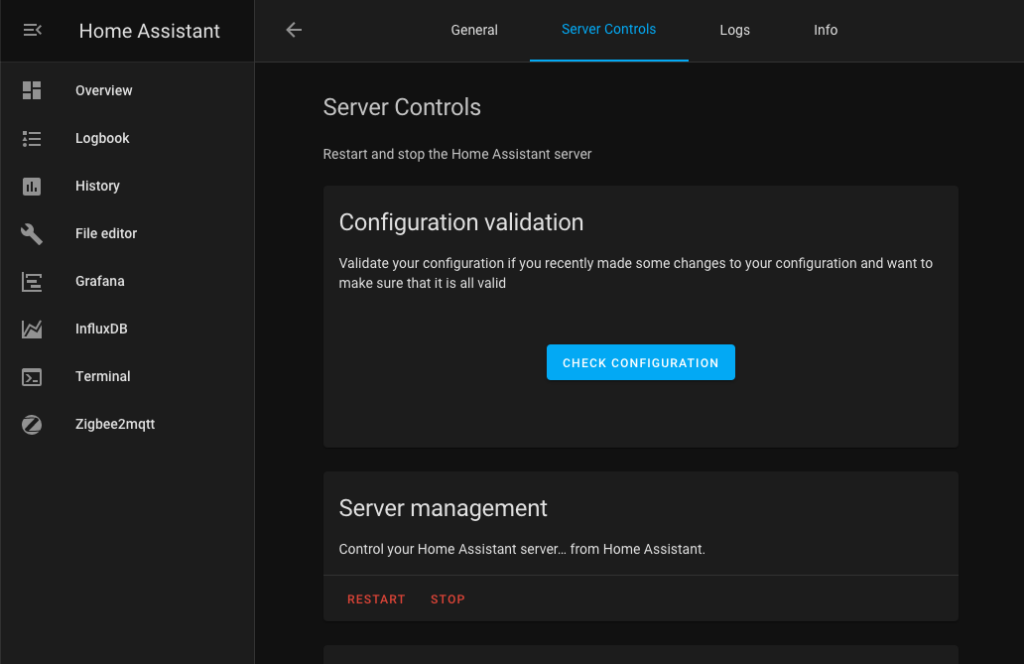
Check your configuration first and then click on Restart button if configuration is correct. Wait few seconds and refresh the interface.
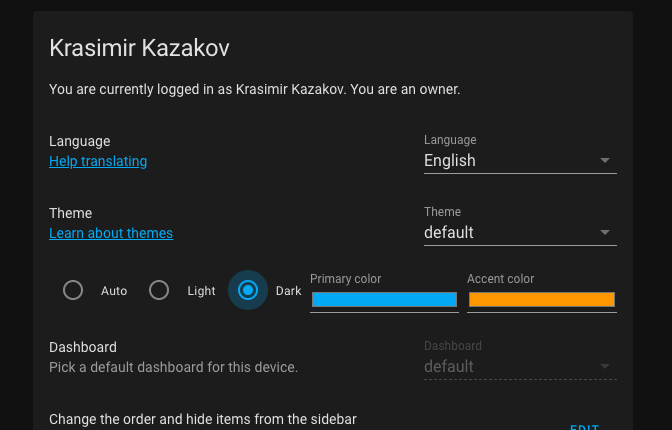
Now when you go to the Profile settings, you will see the new theme appear:
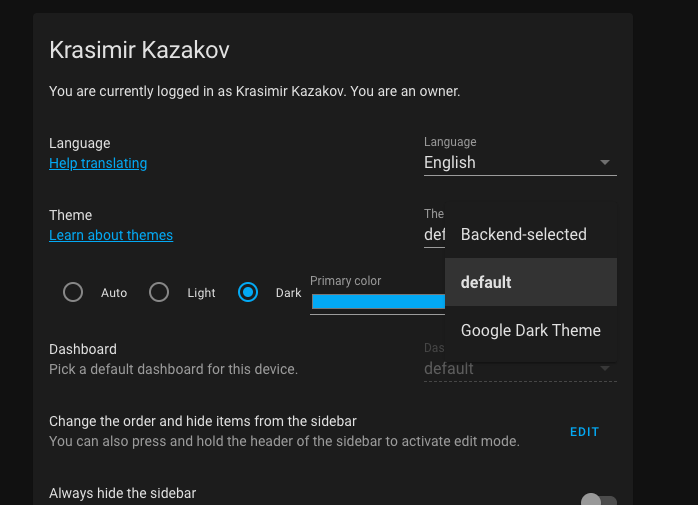
When you select the theme, it will change. However, note that this is for your user only. All other users can select their themes.
Users
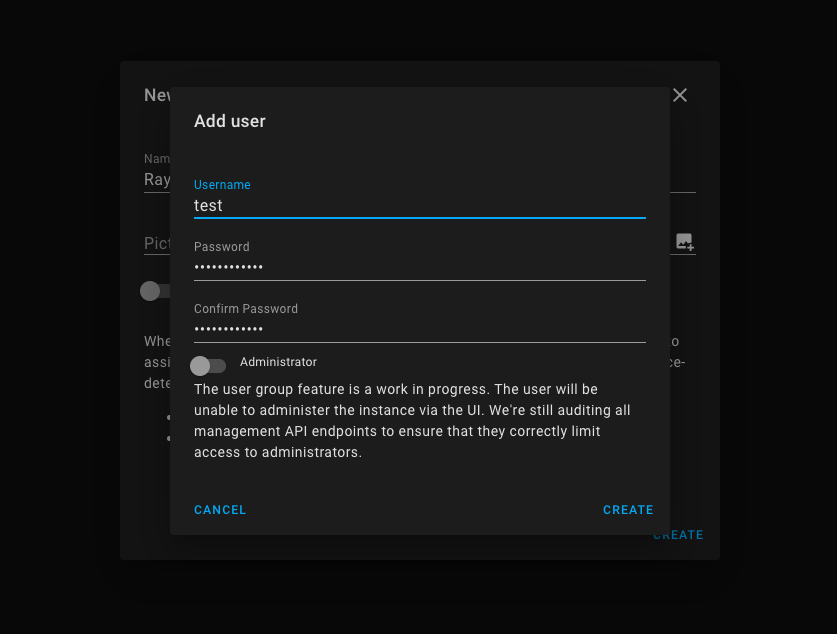
You can add different users to HASS, which can have different configuration. Users can also have devices, whose location can be tracked and certain actions can be performed when the device detected goes into a region, for example – turning OFF alarm.
Go to Configuration -> People, then tap on the Plus sign. Fill in the details, and click Allow person to login. Fill in the details, give some rights. That’s it! Now everyone can log in to Home assistant.
In the next post we will discuss different sensors and elements. They will be the ones that I prefer using and I will show how to add them to Home Assistant.